nnnSoftware
  • Home
  • GRIDMAKER
    • SUPPORT for GridMaker >
      • How do I?
  • QUILTPAPER
  • QUILTSANDWICH
  • QUILTSIZE
  • Send A Message
Picture

How do I?

Create DIY Half Square Triangle Paper.

4/19/2017

0 Comments

 
Picture
Sometimes, it just nice to have triangle papers... ​
Picture

And what do you do when you are doing a little late night sewing and need to make small Half Square Triangles (HST)? Or perhaps your local quilt store doesn't carry any? (I do not have a local source).
Well — do what any resourceful quilter would do — Make Your Own! It's easier than you think. 

​Read on!!
Here is a lesson on how to draft Half Square Triangle (HST) Paper and sew HST units using your DIY Triangle Paper. I have tried SO many methods for making HSTs. And I have come to the realization that I just need to stick with using the paper triangle method. I can't seem to get sharp points any other way when they are smaller than 2" finished.  

First, let me say that I make a master copy of my DIY triangle papers. Draft once and make copies! That's my motto. 

Here are the tools I use:

The iOS apps QuiltPaper and QuiltSandwich (both available in the Apple AppStore), a black pen, a red pen and a ruler. That's it! 

Let's get started!
Picture
Picture
As an overall observation as to where we are headed, what we are going to do is create squares using the cut size of the fabric, draw a diagonal line corner to corner.  And then we are going to sew 1/4" away from the line. 

This tutorial is how to do that on graph paper for any size triangle you need. Just keep that in mind as you read through the steps.

1.  Determine the finished size of the half square triangle needed. 
​

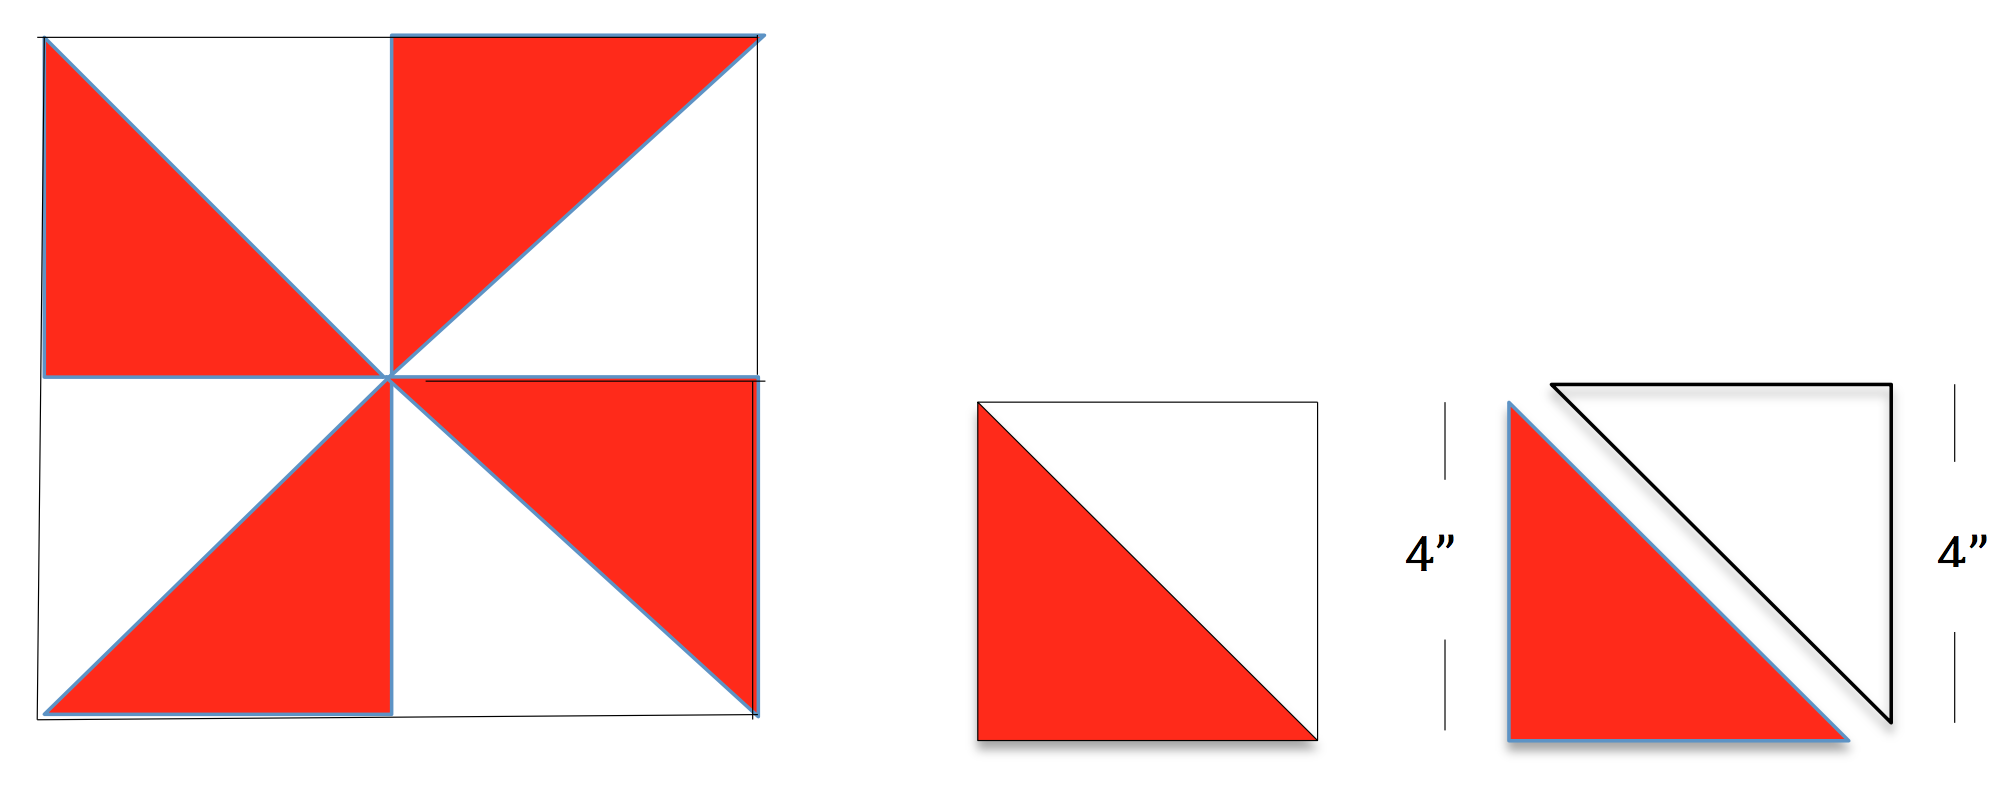
Let's say that I want to make a 9" Churn Dash block.
Here is a picture of my block:
Picture
My block has 3 pieces across. 9" divided by 3, means that my HST piece needs to finish at 3". Does this make sense? Or — 1 square equals 1".
Because my HST is 3 squares high, my finished size needs to 3 inches.

​Easy peasy once you get the hang of it!
Picture
2.  Here is the magic secret. Triangle papers are drawn in cut sizes. Which means the seam allowance needs to be added to the finished size of my HST. How do I know how big to draw my cut size square? Well just look it up on the QuiltSandwich app!!! 
Using Quick Calc: 
Picture
I just tap the scissors to look at the Cutting Diagram. To make a 3" finished HST, the Cutting Diagram tells me that I need to cut my squares 3 7/8". We are going to do exactly the same thing!
Ugh. I need to draw a 3 7/8" square.

​This is just as bad as trying to 
cut  a 3 7/8" square.
Picture
But not to fear.  

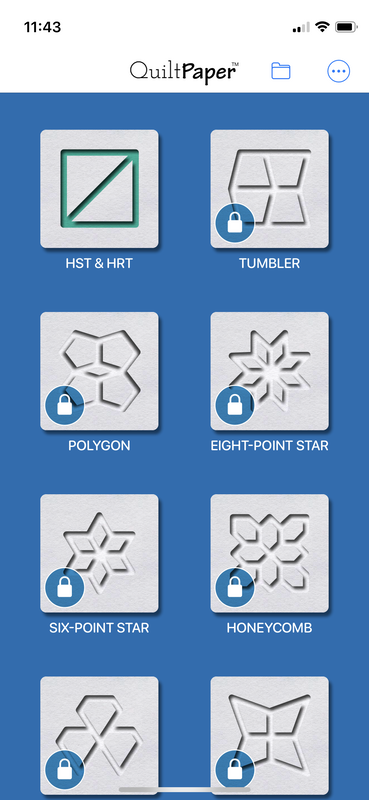
Use the QuiltPaper app to create graph paper that has 8 lines to the inch.  And this will be super easy!  

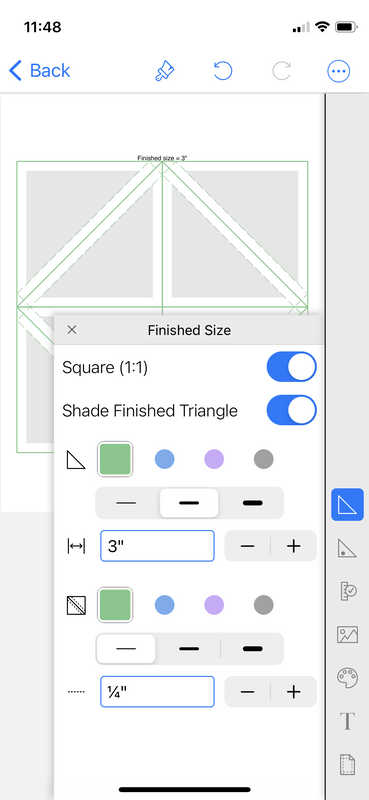
​Here are screen shots from the QuiltPaper app to show you how I created my paper — 
First, I created my grid.  I want one inch squares.
Picture
Then, I divided my inch squares into eighths so it was easy to find the 7/8" mark.
Picture
QuiltPaper has a really cool feature where you can number the squares on the paper!  This makes it so very very easy to count and keep track of where you are.
No more having to count little tiny squares! ​
Picture
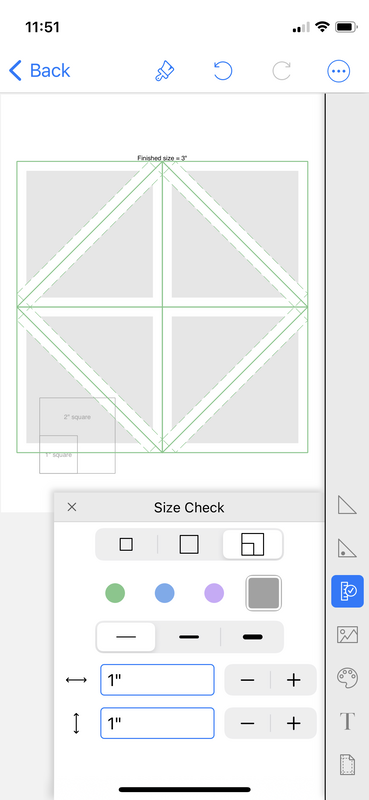
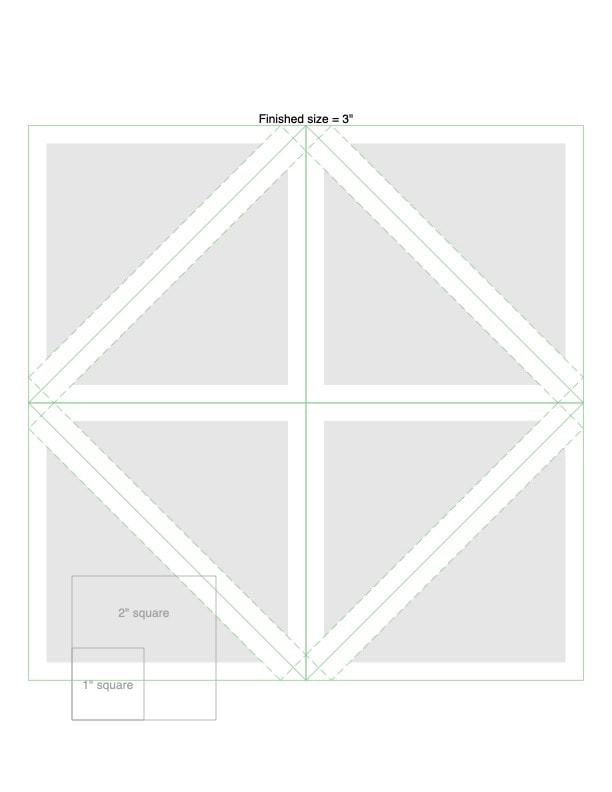
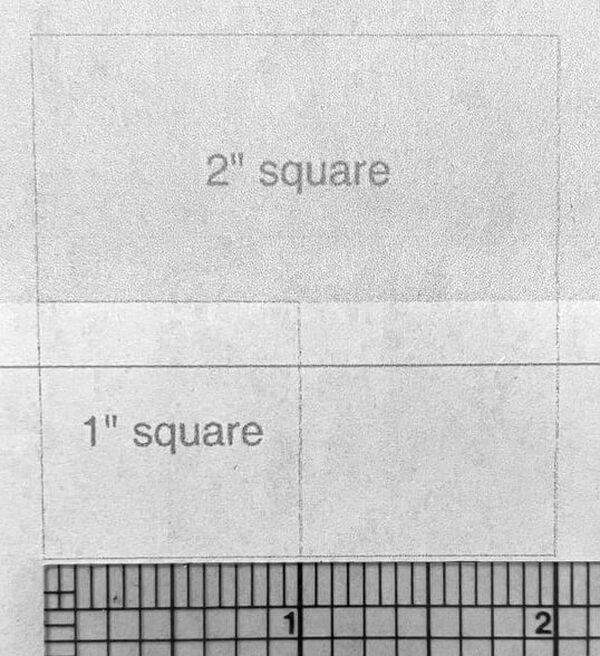
To print, look for Print under the '•••' button. Then, double-check your printer by printing a page and measuring the grid to confirm is was not distorted a bit smaller or larger.
If it's not quite right,  print again using the other option (whichever of General or Photo wasn't used before.)
Picture
3.   Making my HST paper.  

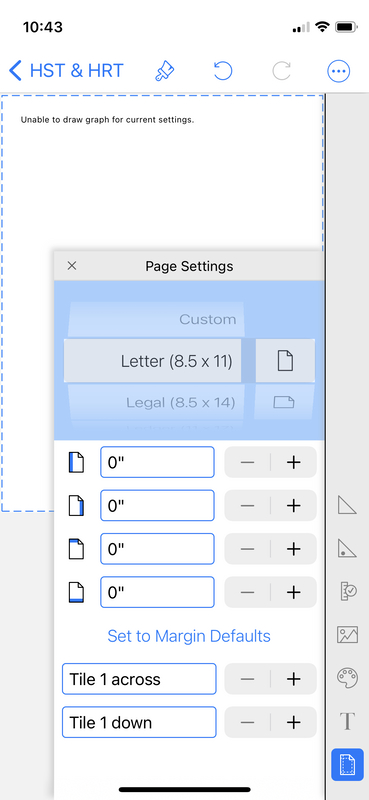
I want to make more than one unit at a time. So I am going to fit as many on my page as possible. Note that the 
QuiltPaper app will accommodate legal size paper AND A4 paperfor our overseas quilters.  Also the margins are adjustable! I am using standard, 8 1/2 x 11, printer paper.

First I draw a column, 3 7/8" wide. I am using my black pen for this. The black lines will end up being my cutting/trimming line.
Picture
Then I divide it into 3 7/8" squares.  I use black pen for this too. I know my lines are not very dark, but I am hoping you can see them OK.  ​
Picture
We are making HST, so now we need to draw a diagonal line. This is exactly the same as cutting out a square of fabric and drawing the diagonal line from corner to corner. This line is drawn in black too.
Picture
Then I add my seam allowances. Just use the 1/4" mark on your ruler to draw the red line. Put the 1/4" mark on the diagonal line, and then draw the red line. ​
Picture
I use my red pen to draw the seam allowances. Now that I think about it, you really don't need to draw the red lines. Sewing 1/4" away from the black line is that same as drawing a line on your fabric square and cutting it on the diagonal. But I am going to draw the red lines, just so you can get an idea as to how this works. And because purchased triangle papers tend to have the sewing lines (red) marked as well as the cutting lines (black) . And true confessions;  I like to sew on the red line, I am just more accurate that way. ​
Picture
4.  Make a copy.  Remember, you are making a master Triangle Paper. 
​5.  Cut your fabric.

I cut my fabric 4" wide, so that I have enough to square up my triangles after sewing.
Picture
6.  Lay your fabric strips right sides together.

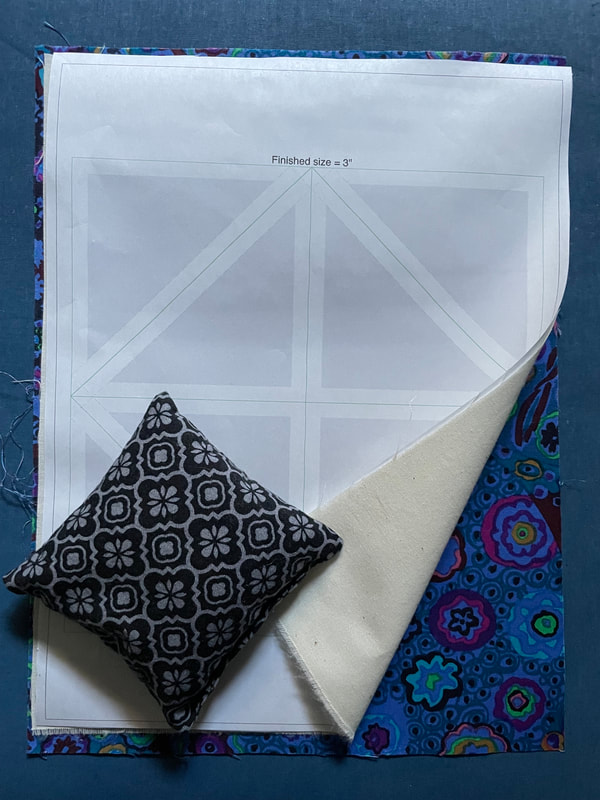
​You can either pin them to the strip, or use a little dab of fabric glue. Once you get started sewing you won't need the pin anymore.  Its just to hold everything together and straight to get started. One mistake I made in creating this tutorial is I didn't cut my strips long enough for me to make sure that I was placing them in the right place. The paper goes on top of the strips, because thats where the stitching lines are. So I cut off the excess top and bottom paper margins so you could see where I placed the fabric.
Picture
Picture
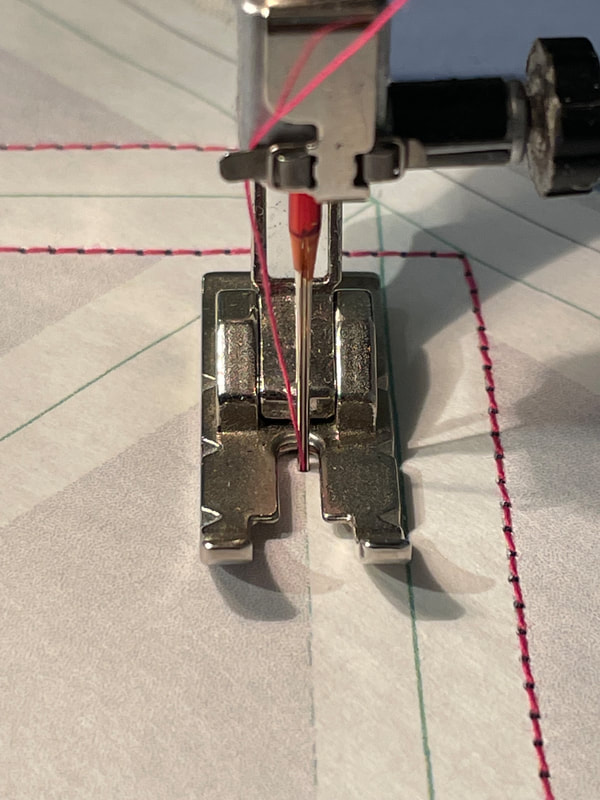
7.  Start sewing!  
You may find it helpful to shorten your stitch length to about a 1.8. This will make it easier for you to remove your paper.
Picture
​Again, I just use regular old printer paper. ​​
​
Sew on the red lines. 
Make sure to stop and start past the cutting line. This will help to make sure your seam does not come apart after you trim the paper off.
Picture
8.  Wasn't that slick?  No bias edges. No triangle tips getting eaten by the feed dogs. ​
Picture
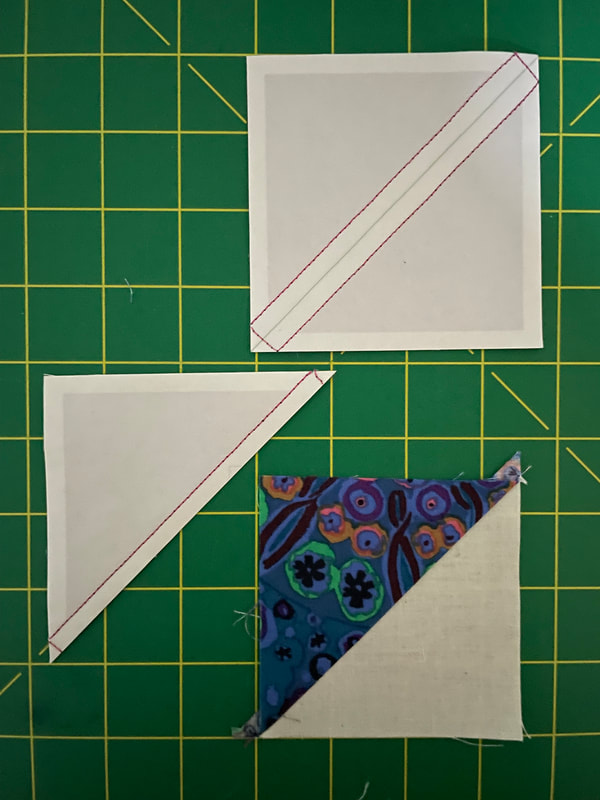
9.  Now just cut on the black lines.

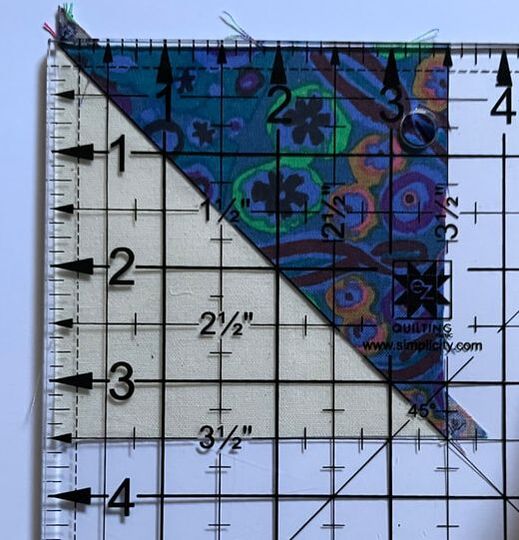
There you have it — perfectly sized HST that assembled measures 3 1/2" and will finish as 3". 
Picture
Picture
Picture
Remove the paper.

I fold it back to make a crease. This makes it easier to tear. The key to easy tearing is the shorter stitch length.  
​
Picture
Here is a perfect triangle — What do you think?  

Do you like my graph paper fabric??? ​
Picture
I know that it would be unusual to use triangle paper for a triangle this size.  But, I wanted to use big pieces so that it would be easier for you all to see what I did. 

So as my gift to you, I am making available a sheet of 2" assembled HST, for you to download and try out. 
These HST will finish at 1 1/2".  There are 2 PDFs. My "master" PDF  and a PDF that shows what they look like after the triangle strips for piecing have been created. Consider using this page for copying too! 


Here's to joyful piecing!
1_12_finished_half_square_triangle_paper_all_ready_to_go_.pdf
File Size: 235 kb
File Type: pdf
Download File

master_1_12_finished_half_square_triangle_paper.pdf
File Size: 599 kb
File Type: pdf
Download File

0 Comments

Your comment will be posted after it is approved.


Leave a Reply.

    Categories

    All
    ColorPalettes
    CustomGrids
    FineLInes
    GridMaker
    HST
    KnittingGrid
    Printing
    QuiltPaper


    RSS Feed


      Still looking for answers?

    Send email

    Author

    Questions are answered by the app developer. ​


GRIDMAKER — Graph paper for makers
Send a message
Picture
apps for Quilters
QUILTSANDWICH — Your Design. Our Math.
QUILTSIZE — Simple Quilt Sizing
QUILTPAPER — Graph paper for Quilters

Privacy Policy
© COPYRIGHT NNN Software 2018-2022. ALL RIGHTS RESERVED.
  • Home
  • GRIDMAKER
    • SUPPORT for GridMaker >
      • How do I?
  • QUILTPAPER
  • QUILTSANDWICH
  • QUILTSIZE
  • Send A Message